🌎 Migrating Hosts
This guide will show you how to move your server to our host!
This guide assumes you have FileZilla installed already. If you need help with that, click here.
Legend
For this guide we will be referring to your original server as Origin, and your Asteroid Server as Asteroid.
Step 1 - Retrieving Origin's Connection Info
Step 1a - Panel Type
Log into your server's panel. Most of the time it will either be based on Multicraft or Pterodactyl. It is important to know what version your panel is running so you know where to retrieve the connection information. If you already have your connection info, skip to Step
If your control panel looks similar to the pictures below, it is using the Pterodactyl Layout.
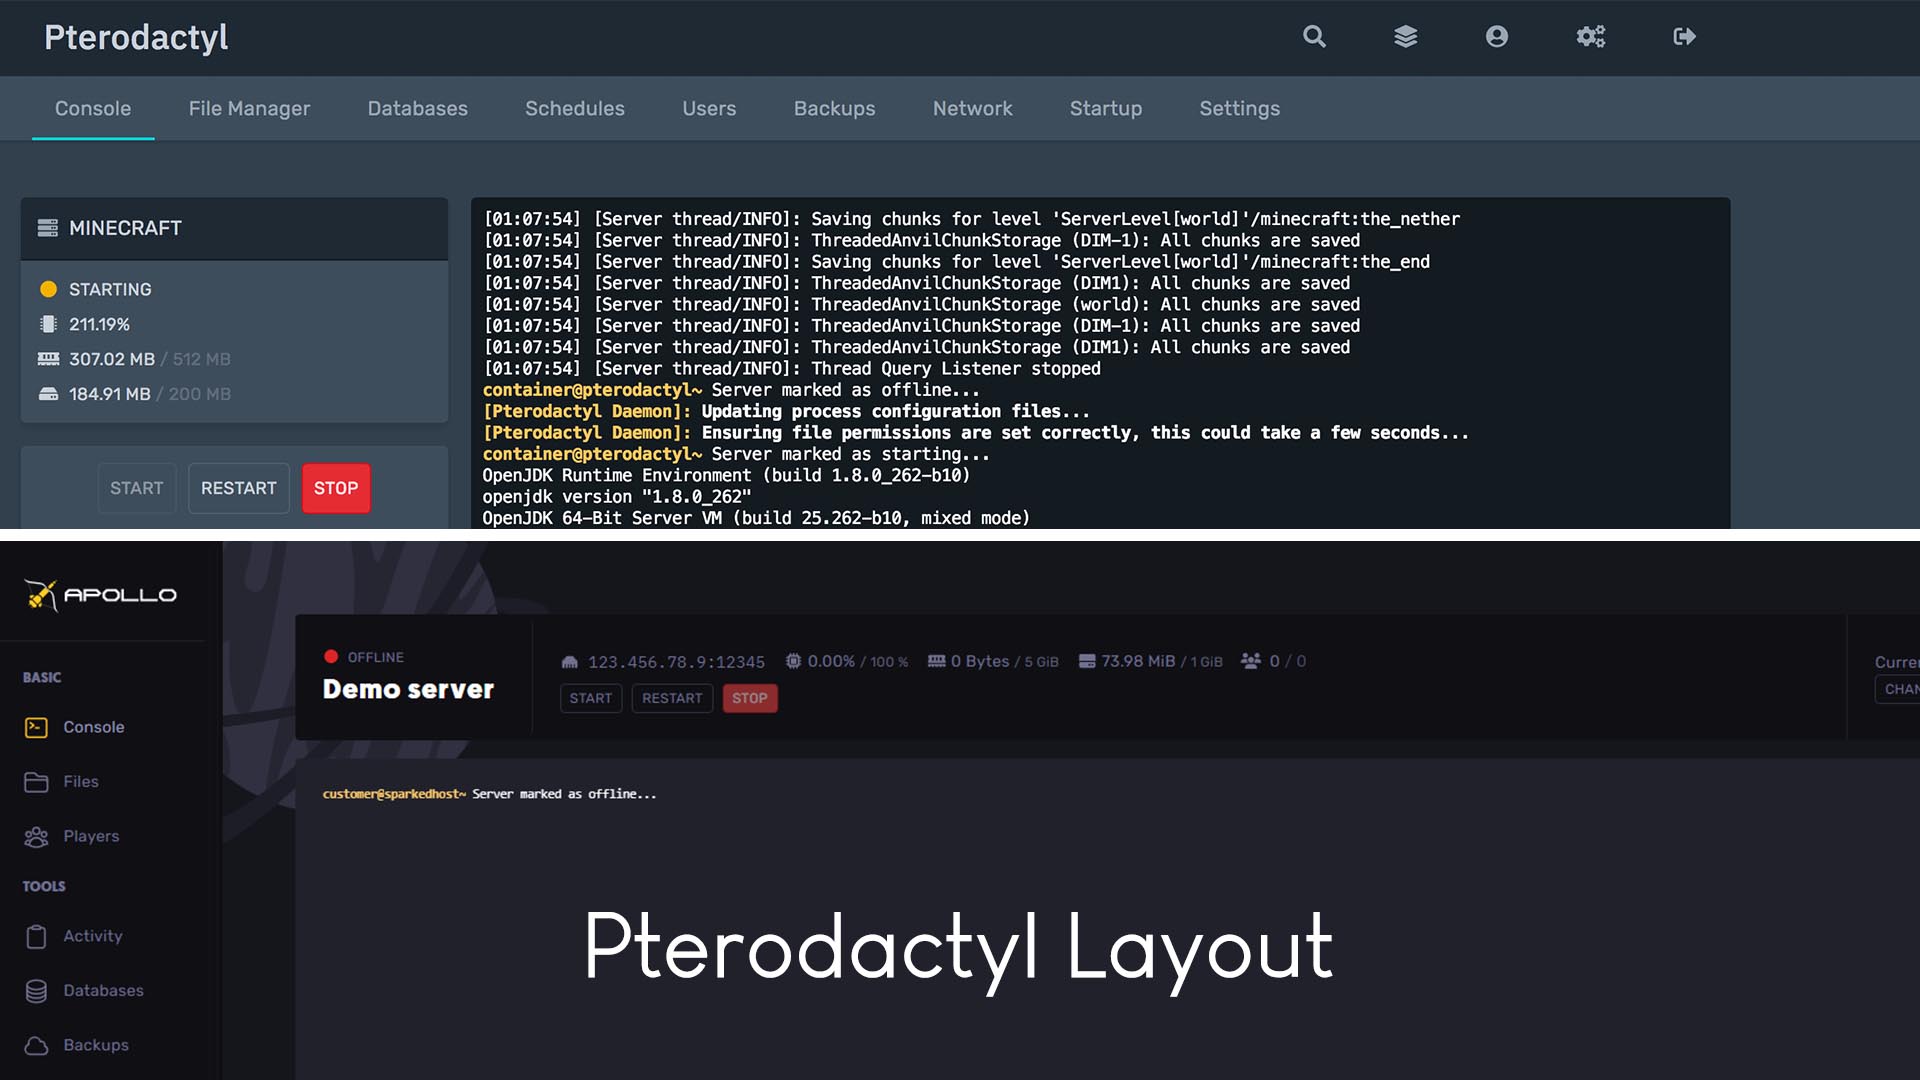
Popular Hosts known to be using a fork of Pterodactyl as of May 2023:
- Asteroid Host
- Sparked Host
- Bloom Host
- Pufferfish Host
- Skynode
If your control panel looks similar to the pictures below, it is using the Multicraft Layout.
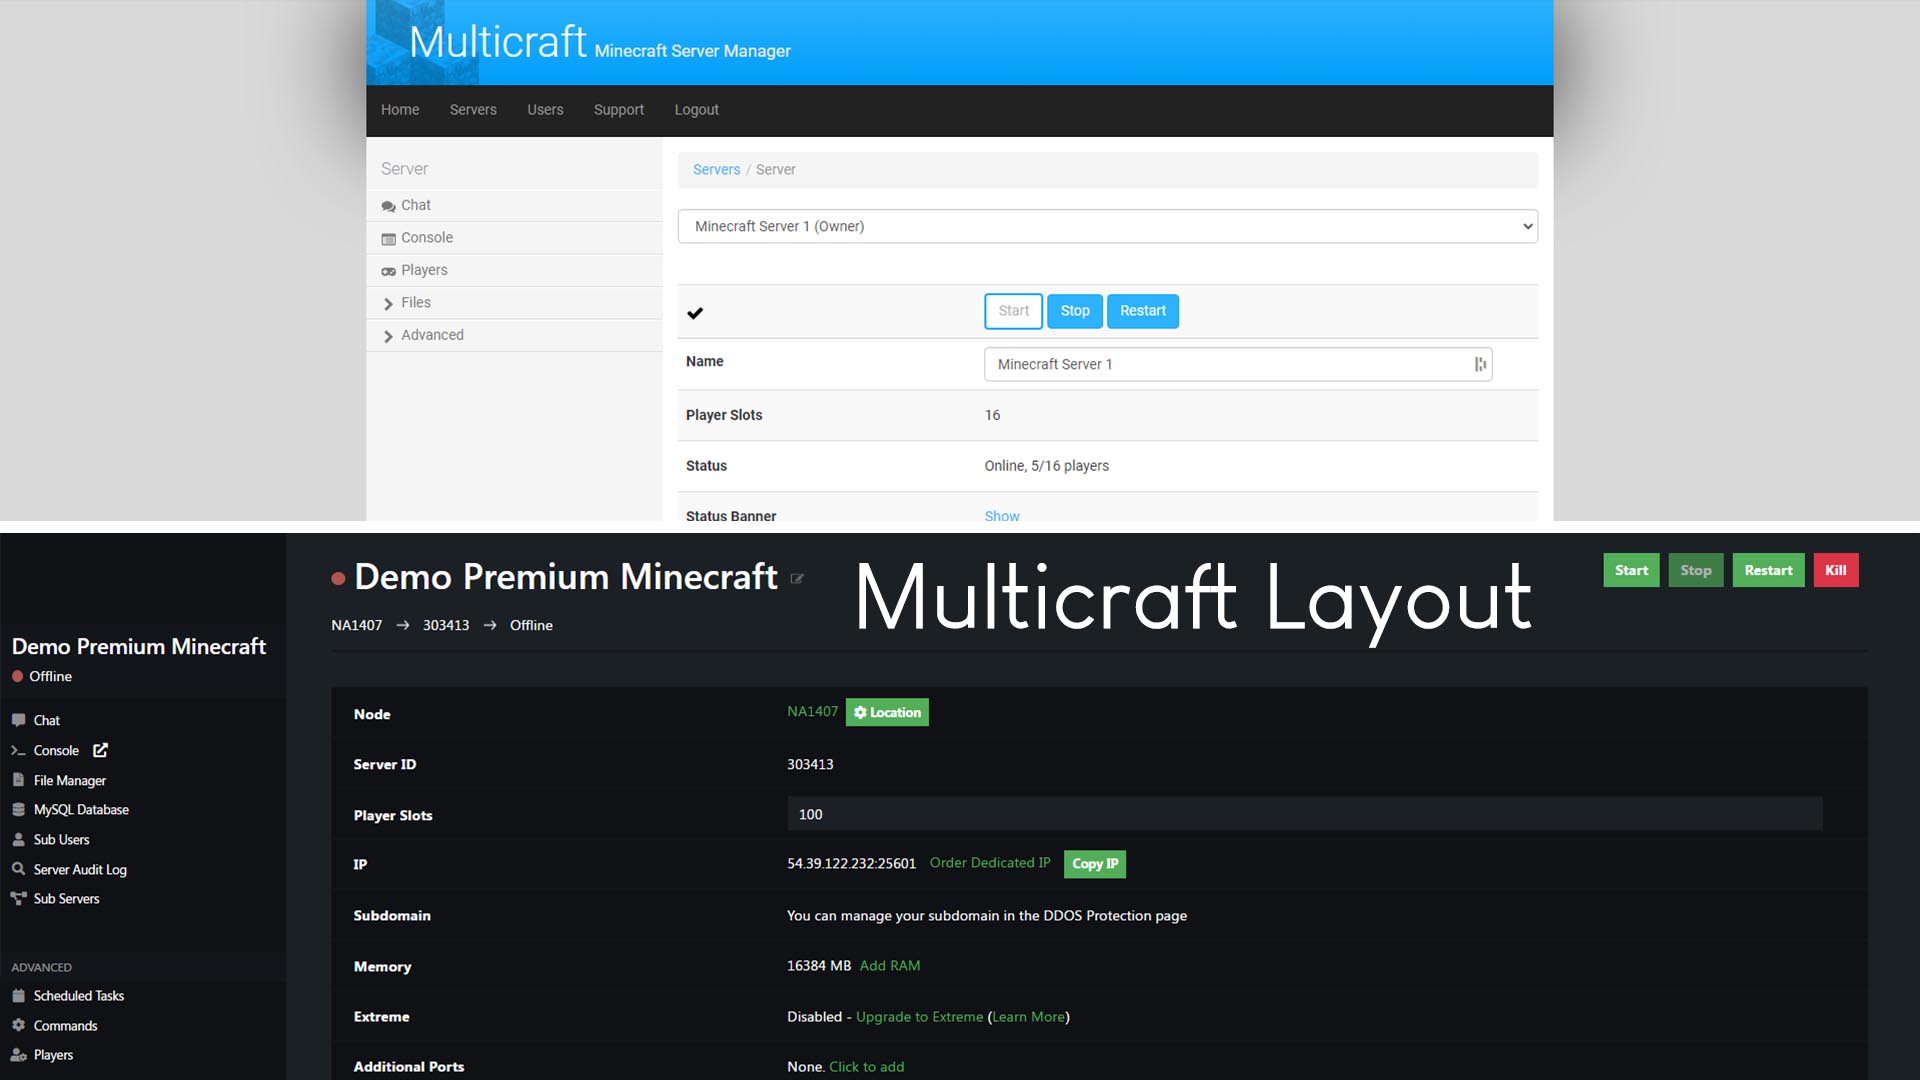
Popular Hosts known to be using a fork of Multicraft as of May 2023:
- Shockbyte
- MCProHosting
- Bisect Hosting
- PebbleHost
- Apex Hosting
- GGServers
Step 1b - Pterodactyl
If your Panel is based on Pterodactyl, it most likely uses SFTP. You can usually find your SFTP connection details under the "Settings" tab.
Open notepad and write down the HOST, USERNAME, PASSWORD, and PORT. The protocol should be SFTP.
Step 1c - Multicraft
If your Panel is based on Multicraft, it most likely uses FTP. You can usually find your FTP connection details under the "> Files", then "FTP File Access" tab.
Open notepad and write down the HOST, FTP USERNAME, PASSWORD, and PORT. The protocol should be FTP.
On PebbleHost, this FTP Information button is found within the File Manager.
Step 2 - Connecting to Origin
- Open FileZilla.
- Copy and paste your saved information you just gathered into the boxes at the top.
HOST,USERNAME,PASSWORD, andPORT. - If your
HOSTstarts withSFTP://orFTP://you should be able to leave the port blank. - Click "Quickconnect". If any extra boxes pop up asking about Fingerprinting, just click "OK".
You should now be able to see your files on the right.
Step 3 - Downloading from Origin
If your server is relatively small, or you are nearing your storage limit on Origin's host, you should copy your files in their current state. However, in most cases it would be better to open Origin's web panel, navigate to the File Manager, and create an archive. (.zip or .tar.gz).
This process requires downloading your server and reuploading it to the new server. If you don't have adequate storage or internet, reach out to us via ticket and we'll move it for you.
On the left is your computer's file directories. By default you are in your Home folder. Right click in the box (not on a folder), and click "Create Directory and enter it". Name is "ServerTransfer".
Then, click back on the right-side window, and either find your archive file, or select everything in the folder and drag it into the left box. This will start downloading your server files to your computer.
Step 4 - Connecting to Asteroid
- Click HERE to open our Game Panel.
- Click "Manage Server" on the Server you would like to transfer to.
- At the top, click on "Settings".
- Open notepad and write down the
SERVER ADDRESS, and theUSERNAME.
- You can also click on the boxes to copy.
Now, open FileZilla and in the same boxes at the top as before, enter SERVER ADDRESS into HOST, and USERNAME into USERNAME.
The PASSWORD is your Panel's Password. (Not your billing password!).
The PORT box can either be left blank or set to 2022.
!! A box will pop up saying you are already connected. You can either connect via a new tab, or disconnect from Origin and connect to Asteroid. You shouldn't need Origin any more so it is your choice.
Step 5 - Uploading to Asteroid
If your Asteroid Server is running, make sure to stop it first in the "Console" tab on the panel.
If there are any files on your Asteroid Server, be sure to remove them before uploading. Make sure ahead of time none of them are important to you.
We will now be doing the inverse of what we did before. Select everything from the left window and drag them to the right into your Server's root directory. You can view progress at the bottom. This may take a while.
Step 6 - Finishing Up
Once the transfer is complete, you should now go back to Asteroid Panel, and click on "Files". Scroll down and copy the name of your server JAR. Once copied, go to the "Startup" tab and paste it into the SERVER JAR FILE box.
Now you should be able to go to the "Console" tab and start your server. Some plugin configs may need to be changed to accomodate for the IP change.
If you would like to remove your old host's branding, like the server icon, you can remove or replace it by deleting the server-icon.png file in the main directory. Click HERE to find out more on how to upload your own!
Last Updated: May 13, 2023
Discord Support